Editing Findings
If you want to add notes or update the language on a Finding to be more relevant to the current situation, you can do so through the Edit Finding form.
Open the Edit Finding Form
You can update a Finding by opening the ⚙️ Gear Menu in the top and clicking Edit Finding.
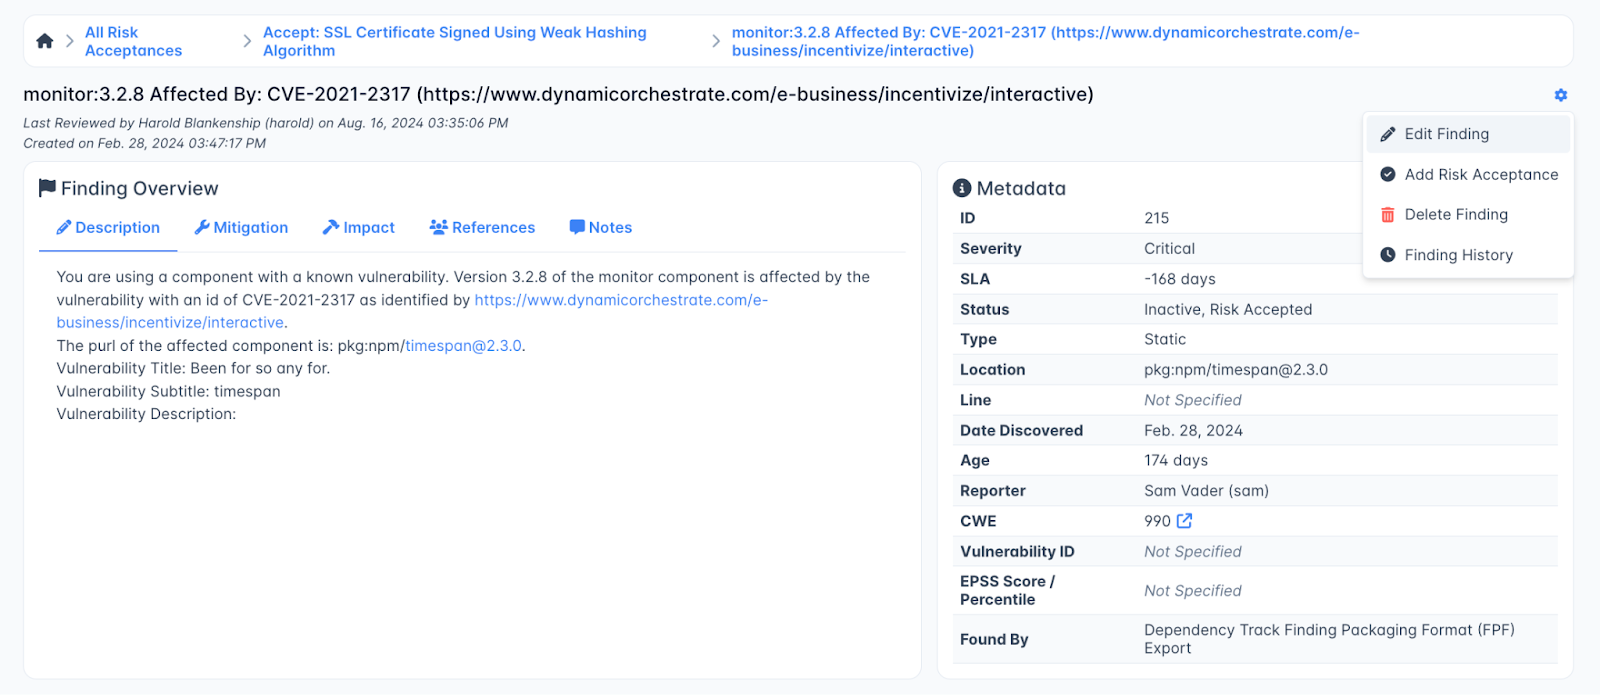
This will open the Edit Finding form, where you can edit the metadata, change the Finding’s Status and add additional information.
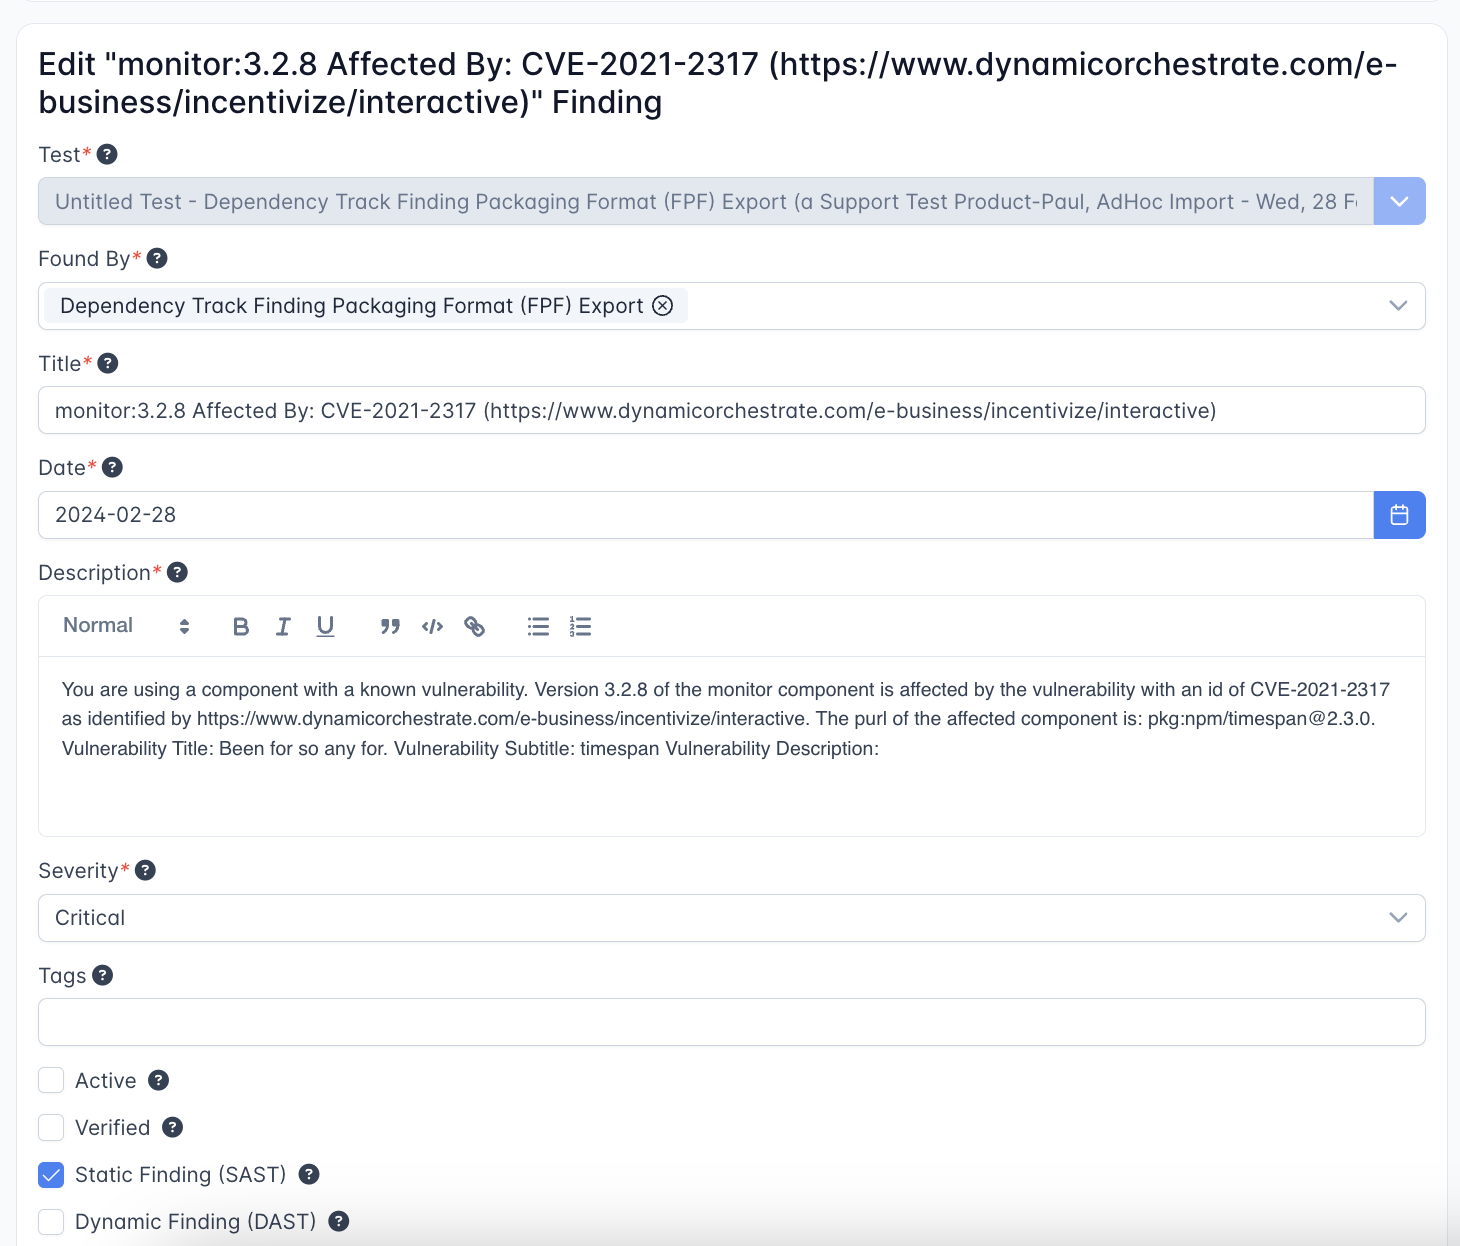
Edit Finding Form: Fields
- “Test” cannot be edited: Findings always have to be associated with a Test object, and cannot be moved out of that context. However, the Engagement containing a Test can be moved to another Asset.
- Found By is the scan tool which discovered this Finding. Note that you can add additional scan tools beyond the tool associated with the Test.
- Title is created from the scan report, but you can edit this title to be more meaningful if you need to. Note that this may affect Deduplication, as Deduplication generally uses the titles of Findings to identify duplicates.
- Date is meant to represent the date the Finding was uncovered by the scanner - not necessarily the date the Finding was imported into DefectDojo. This date is pulled from the scan report, but you can update this date to be more accurate if you need to (for example, if working with historical data, or if using a scanning tool which does not log discovery dates).
- Description is the description of a Finding provided by the scan tool. You can add or remove information from the Finding Description if you wish. Screenshots can be pasted or dropped straight into the Description and the other markdown fields (Mitigation, Impact, Steps to Reproduce, Severity Justification, References); see The Markdown Editor.
- Severity is calculated based on several factors. At a base level, this will be the Severity reported by a tool, but a Finding’s Severity can be affected by EPSS changes. You can also manually adjust the Finding’s Severity to an appropriate level.
- Tags are generic text labels that you can use to organize your Findings via Filters - or they can simply be used as shorthand to identify a specific Finding.
- Active / Verified are the primary Finding statuses used by a tool. Active Findings are Findings that are currently active in your network and have been reported by a tool. Verified means that this Finding has been confirmed to exist by a team member.
- SAST / DAST are labels used to organize your Findings into the context they were discovered in. Generally, this label is populated based on the scanning tool used, but you can adjust this to a more accurate level (for example, if the Finding was found by both a SAST and a DAST tool).
- Threat Intelligence (a collapsed panel under Optional Fields) holds the EPSS Score, EPSS Percentile, Known Exploited, Used in Ransomware and KEV Date Added values. These are normally written by the EPSS / KEV sync, which runs nightly, after each import, and on demand from the Vulnerability Explorer. You can set them by hand, but treat a hand-entered value as provisional on any Finding that references a CVE: the next sync replaces it with the feed’s values, and clears the KEV fields when none of the Finding’s CVEs are in the CISA catalog. A Finding without a CVE is never enriched, so it keeps whatever you enter. Hand-set values feed the priority and risk calculation exactly as synced values do. A Rules Engine rule that should react to a hand-set flag needs a condition on KEV: Known Exploited; the FedRAMP “route unrated findings for impact review” template keys on Exploit Maturity, which comes from the threat-intelligence feed and is not affected by these fields.
Editing the Mitigated Date and Mitigated By
By default, a Finding’s Mitigated Date and Mitigated By values are not editable. These fields are hidden from both the Edit Finding form and the Close Finding dialog, and the Mitigated Date is always set automatically to the moment the Finding is closed. Attempting to set or backdate these values through the API is rejected for the same reason.
Editing can be turned on with the DD_EDITABLE_MITIGATED_DATA server setting. When it is enabled, the Mitigated Date and Mitigated By fields appear in the Edit Finding form and the Close Finding dialog, and can also be set through the API — but only for users with superuser status. In other words, editing requires both the setting to be enabled and the acting user to be a superuser.
- Why it’s off by default: allowing a mitigation to be backdated can misrepresent SLA compliance — a Finding that was actually remediated outside its SLA window could be recorded as though it had been mitigated within SLA. Enabling the setting is forward-looking only; it does not change the Mitigated Date or age of any existing Findings.
- Everything stays auditable: every change to a Finding, including edits to the Mitigated Date and Mitigated By, is captured in the Finding’s history log — who made the change, when, and the previous and new values.
- Applying the setting:
DD_EDITABLE_MITIGATED_DATAis a server-level environment variable (see Configuration). Changing it requires a service restart to take effect. - DefectDojo Cloud / Pro: this setting cannot be changed from the UI. Contact DefectDojo Support to have it enabled for your instance.
Bulk Edit Findings
Findings can be edited in bulk from a Finding List, which can be found either on the Findings page itself, or from within a Test.
Selecting Findings for Bulk Edit
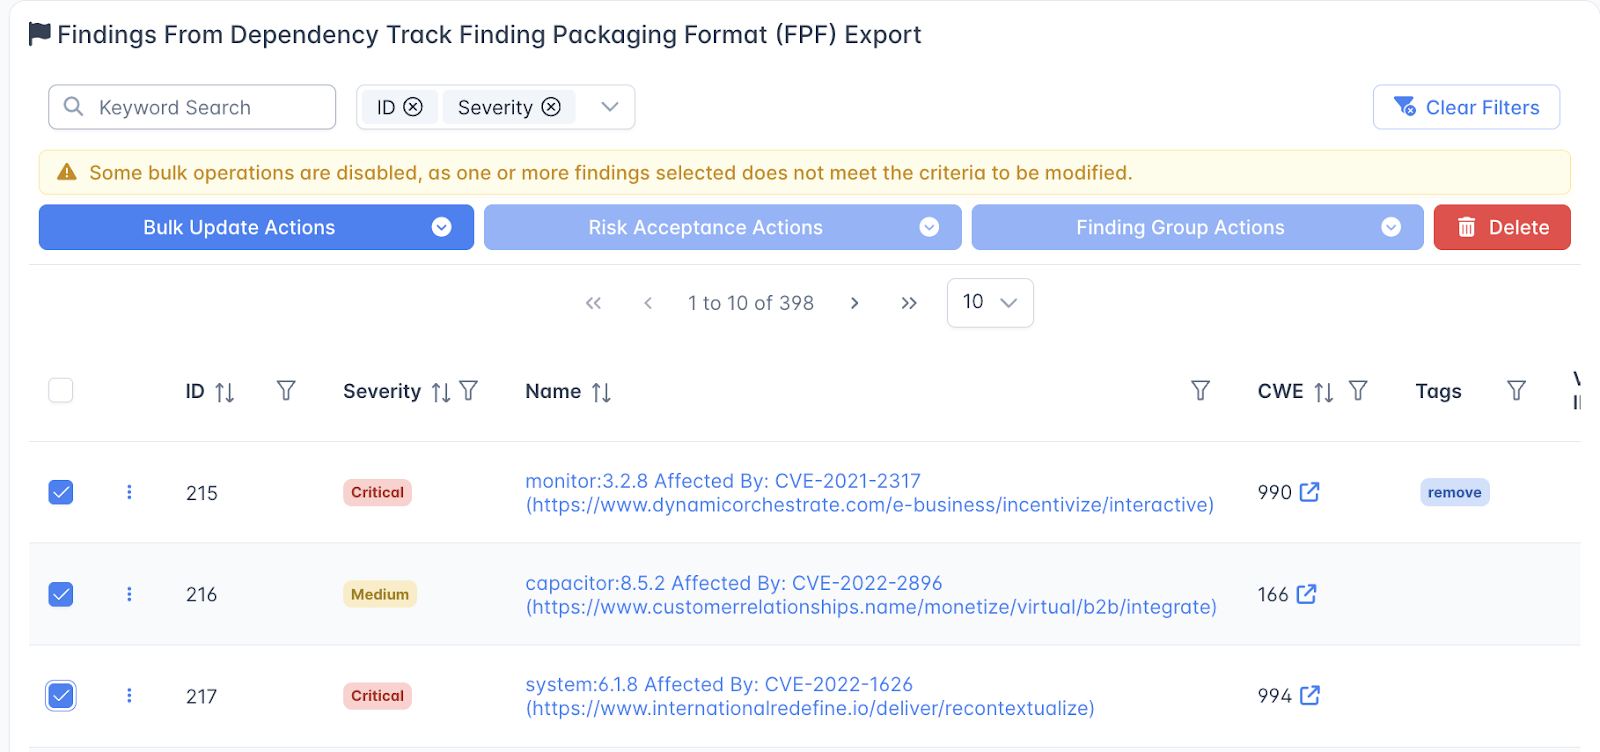
When looking at a table with multiple Findings, such as the ‘Findings From [tool]’ table on a Test Page or the All Findings list, you can use the checkboxes next to Findings to mark them for Bulk Edit.
Selecting one or more Findings in this way will open the (hidden) Bulk Edit menu, which contains the following four options:
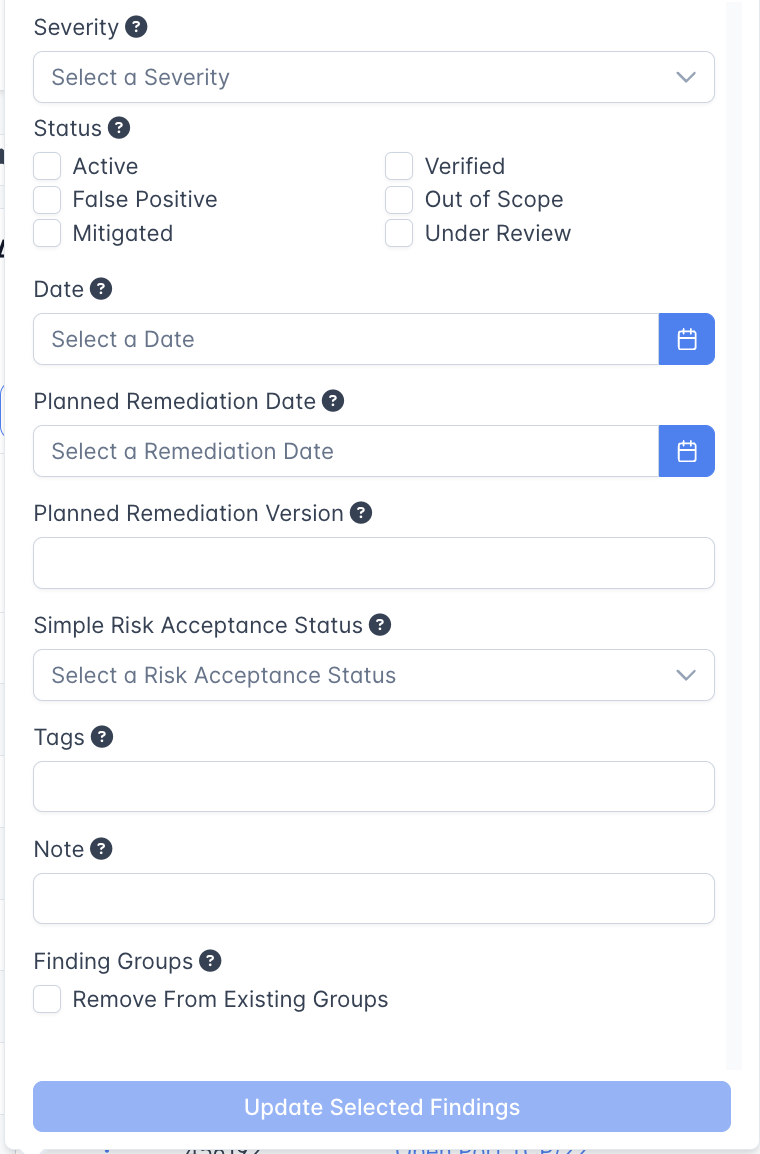
- Bulk Update Actions: apply metadata changes to the selected Findings.
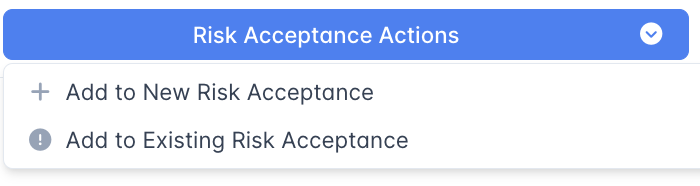
- Risk Acceptance Actions: create a Full Risk Acceptance to govern the selected Findings, or add the Findings to an existing Full Risk Acceptance
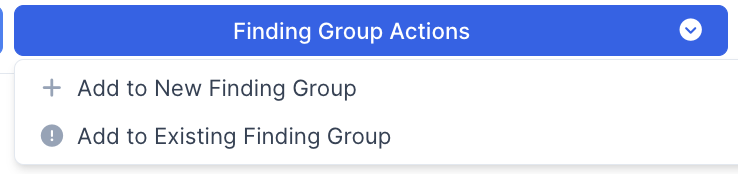
- Finding Group Actions: create a Finding Group made up of the selected Findings. Note that Finding Groups can only be created within an individual Test.
- Delete: delete the selected Findings. You will need to confirm this action in a new window.
Bulk Update Actions
Through the Bulk Update Actions menu, you can apply the following changes to any Findings you have selected:
- Update the Severity
- Apply a new Finding Status
- Change the Discovery or Planned Remediation Date of the Findings
- Add a Simple Risk Acceptance, if the option is enabled at the Asset level
- Apply Tags or Notes to all of the selected Findings.
Risk Acceptance Actions
This page allows you to add a Full Risk Acceptance to the selected Findings. You can either create a new Full Risk Acceptance or add the Findings to one that already exists.
Finding Group Actions
This page allows you to create a new Finding Group from the Selected Findings, or add them to an existing Finding Group.
However, Finding Groups can only be created within an individual Test - Findings from different Tests, Engagements or Assets cannot be added to the same Finding Group.
Bulk Delete Findings
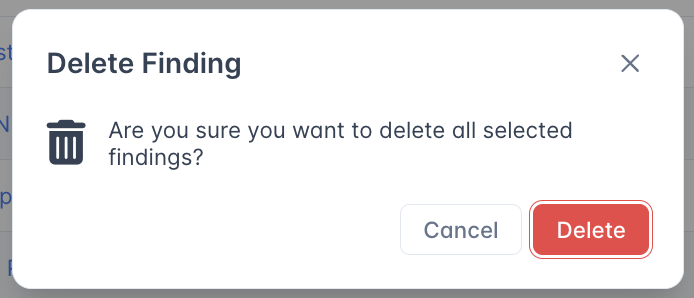
You can also Delete selected Findings by clicking on the red Delete button. A popup window will appear asking you to confirm this decision.