

Infrastructure scans / Smart Upload (Pro)
Note: Smart Upload is only available in DefectDojo Pro.
Smart upload is a specialized importer that ingests reports from infrastructure scanning tools, including:
- Nexpose
- NMap
- OpenVas
- Qualys
- Tenable
Smart Upload is unique in that it can split Findings from a scan file into separate Assets. This is relevant in an Infrastructure scanning context, where the Findings may apply to many different teams, have different implicit SLAs, or need to be included in separate reports due to where they were discovered in your infrastructure.
Smart Upload handles this by sorting incoming findings based on the Endpoints discovered in the scan. At first, those Findings will need to be manually assigned, or directed into the correct Asset from an Unassigned Findings list. However, once a Finding has been assigned to an Asset, all subsequent Findings that share an Endpoint or Host will be sent to the same Asset. If that Host is associated with more than one Asset, the Finding is sent to each of them (see Findings that match more than one Asset below).
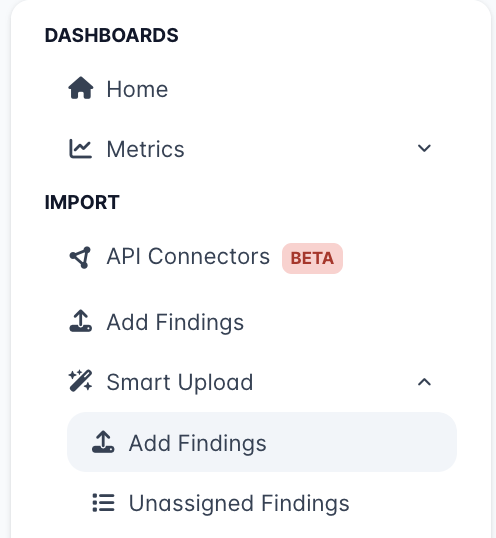
Smart Upload menu options
The Smart Upload menu is stored in a collapsible section of the sidebar.
- Add Findings allows you to import a new scan file, similar to DefectDojo’s Import Scan method
- Unassigned Findings lists all Findings from Smart Upload which have yet to be assigned to an Asset.
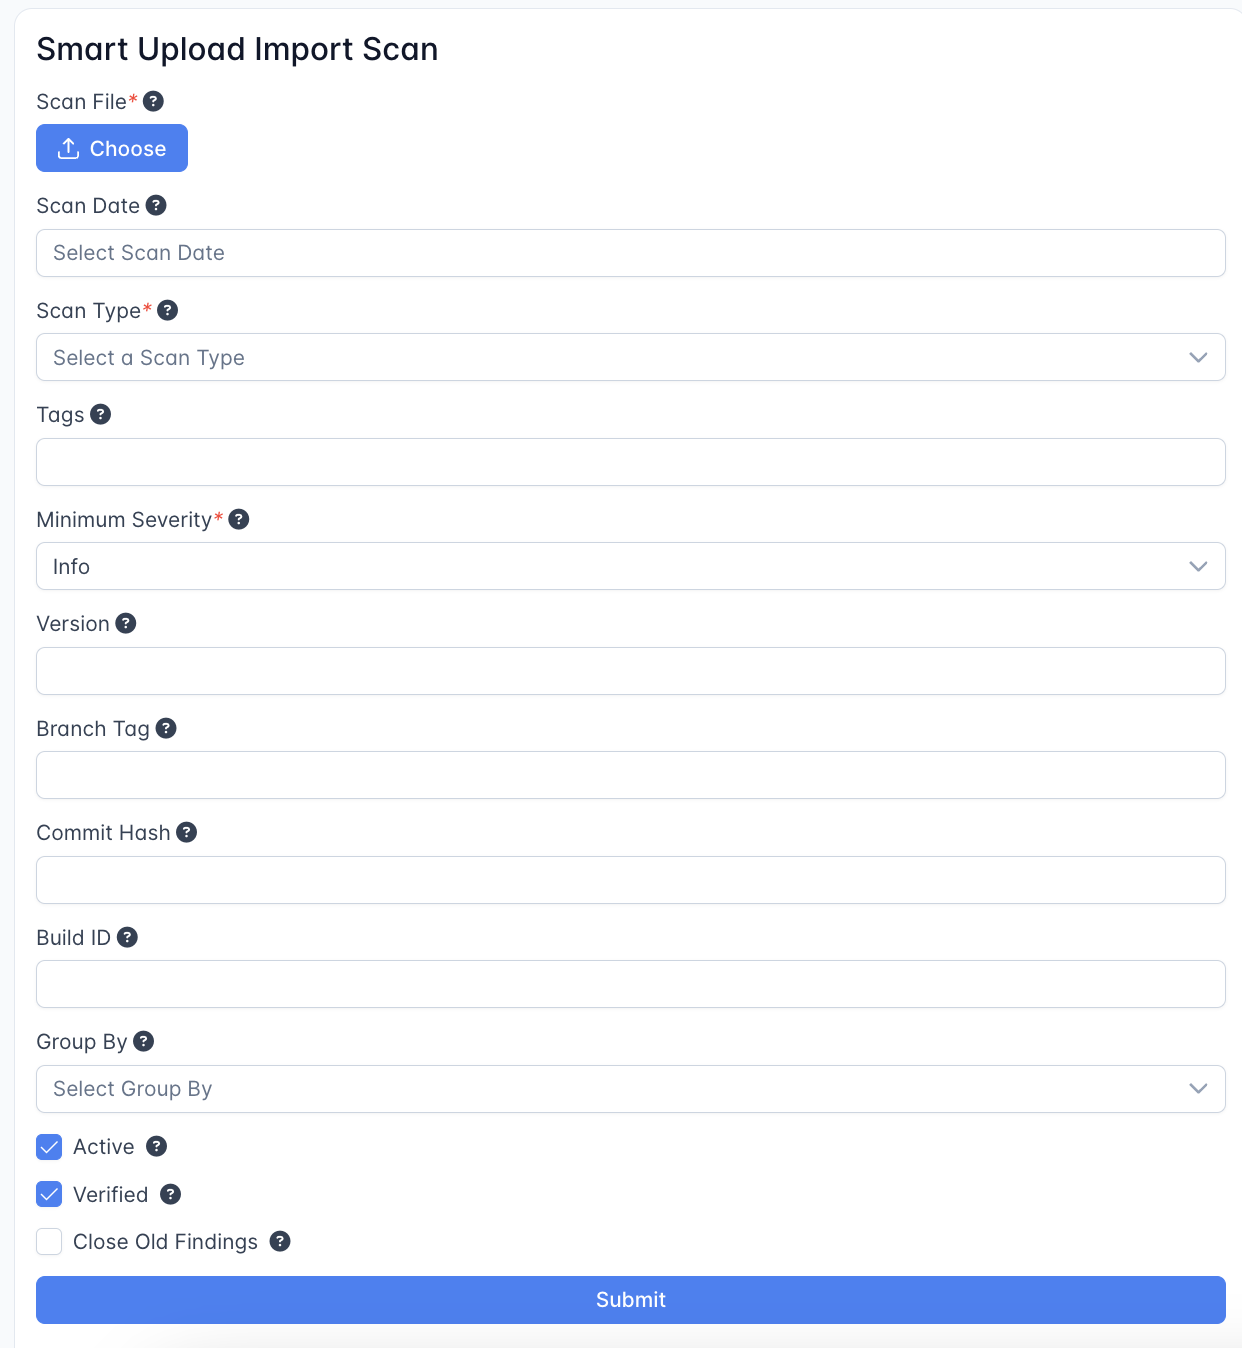
The Smart Upload Form
The Smart Upload Import Scan form is essentially the same as the Import Scan form. See our notes on the Import Scan Form for more details.
Unassigned Findings
Once a Smart Upload has been completed, any Findings which are not automatically assigned to an Asset (based on their Endpoint) will be placed in the Unassigned Findings list. The first Smart Upload for a given tool does not yet have any method to Assign Findings, so each Finding from this file will be sent to this page for sorting.
Unassigned Findings are not included in the Asset Hierarchy and will not appear in reports, filters or metrics until they have been assigned.
Working with Unassigned Findings
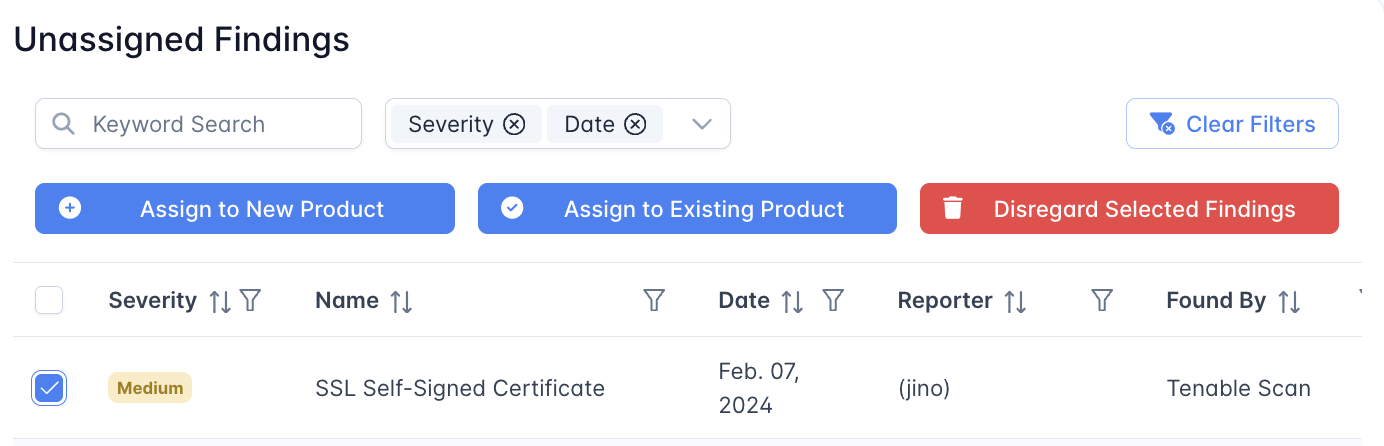
You can select one or more Unassigned Findings for sorting with the checkbox, and perform one of the following actions:
- Assign to New Asset, which will create a new Asset
- Assign to Existing Asset which will move the Finding into an existing Asset
- Disregard Selected Findings, which will remove the Finding from the list
Whenever a Finding is assigned to a New or Existing Asset, it will be placed in a dedicated Engagement called ‘Smart Upload’. This Engagement will contain a Test named according to the Scan Type (e.g. Tenable Scan). Subsequent Findings uploaded via Smart Upload which match those Endpoints will be placed under that Engagement > Test.
Disregarded Findings
If a Finding is Disregarded it will be removed from the Unassigned Findings list. However, the Finding will not be recorded in memory, so subsequent scan uploads may cause the Finding to appear in the Unassigned Findings list again.
Findings that match more than one Asset
A single Host or Endpoint can belong to more than one Asset, for example a shared load balancer, or a host that two teams both track. When Smart Upload matches an incoming Finding’s Host to multiple Assets, it does not choose one: it creates a copy of that Finding in every matching Asset, placing each copy in that Asset’s own Smart Upload Engagement and Test.
This is intentional. Each Asset keeps a complete picture of the vulnerabilities affecting the Hosts it owns, and reports, SLAs, and metrics for each Asset stay independent.
Matching is based on the Host value discovered in the scan (the fully qualified domain name, falling back to the IP address), so any Asset that already owns that Host receives a copy of the Finding.