

Add or Edit Upstream Connectors
Note: Upstream Connectors are a DefectDojo Pro-only feature.
The process for adding and configuring an Upstream Connector is similar, regardless of the tool you’re trying to connect. However, certain tools may require you to create API keys or complete additional steps.
Before you begin this process, we recommend checking our Tool-Specific Reference to find the API resources for the tool you’re trying to connect.
If you haven’t already, start by switching to the Pro UI in DefectDojo.
From the left-side menu, open the Connectors group nested under the Import header, and click Upstream Connectors.
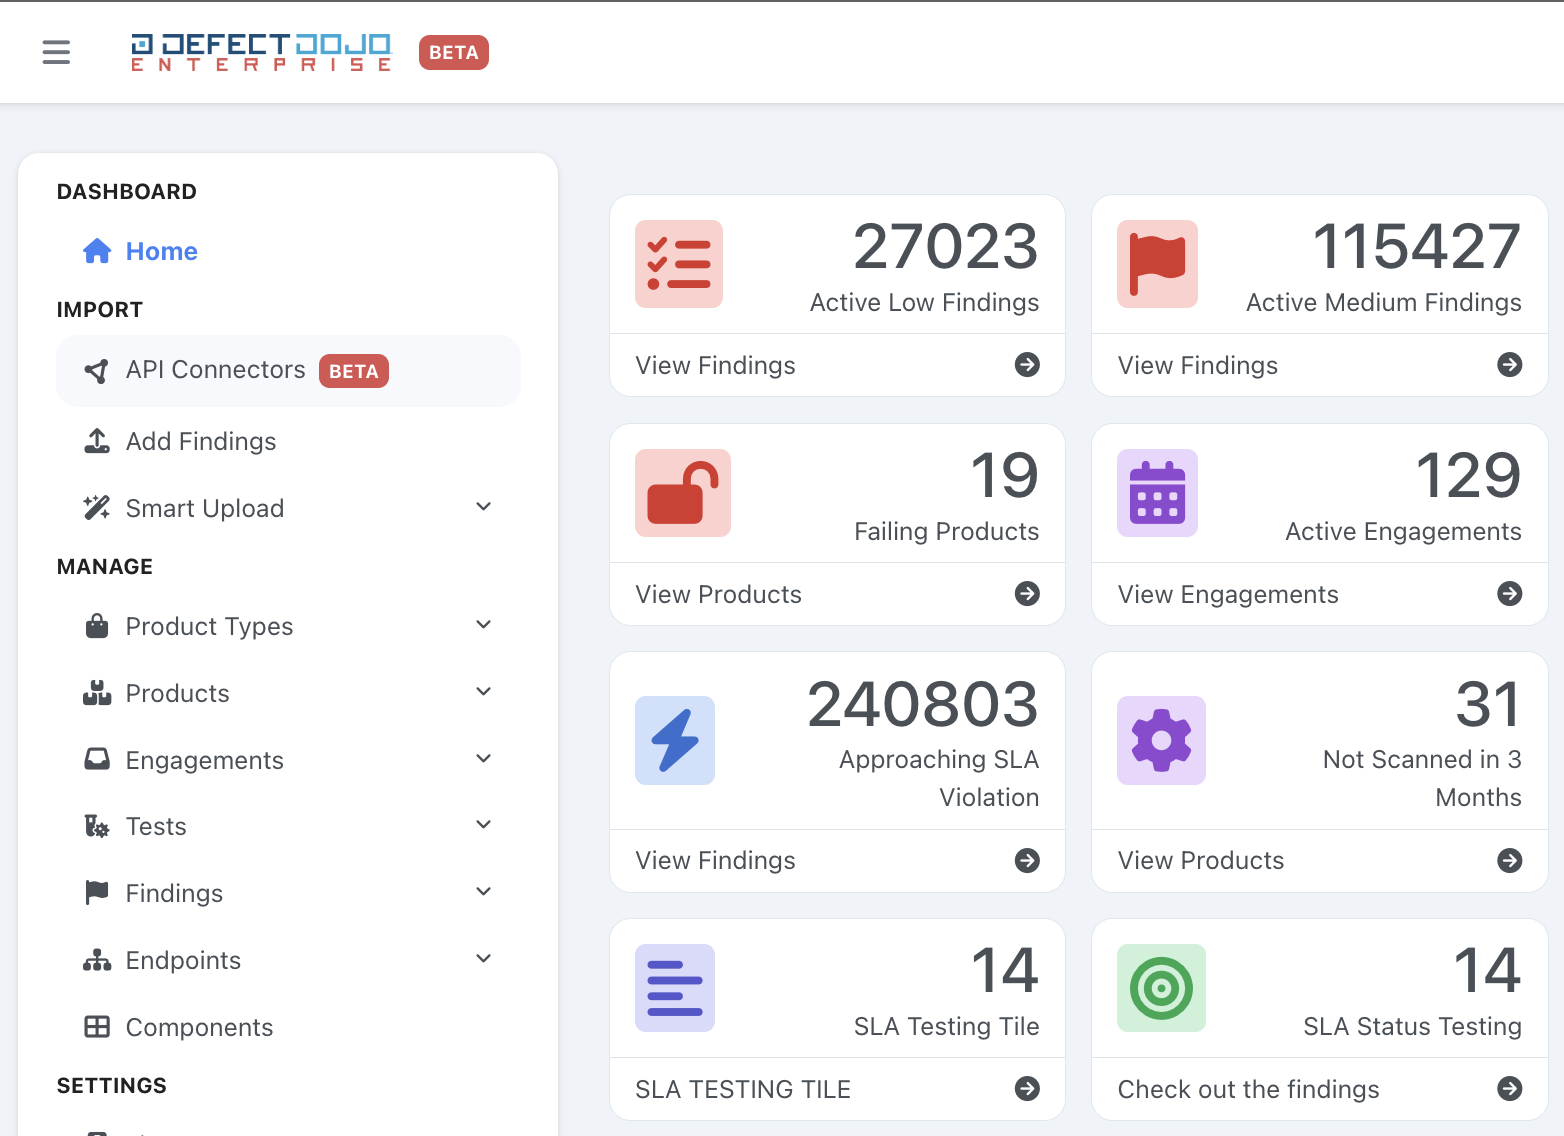
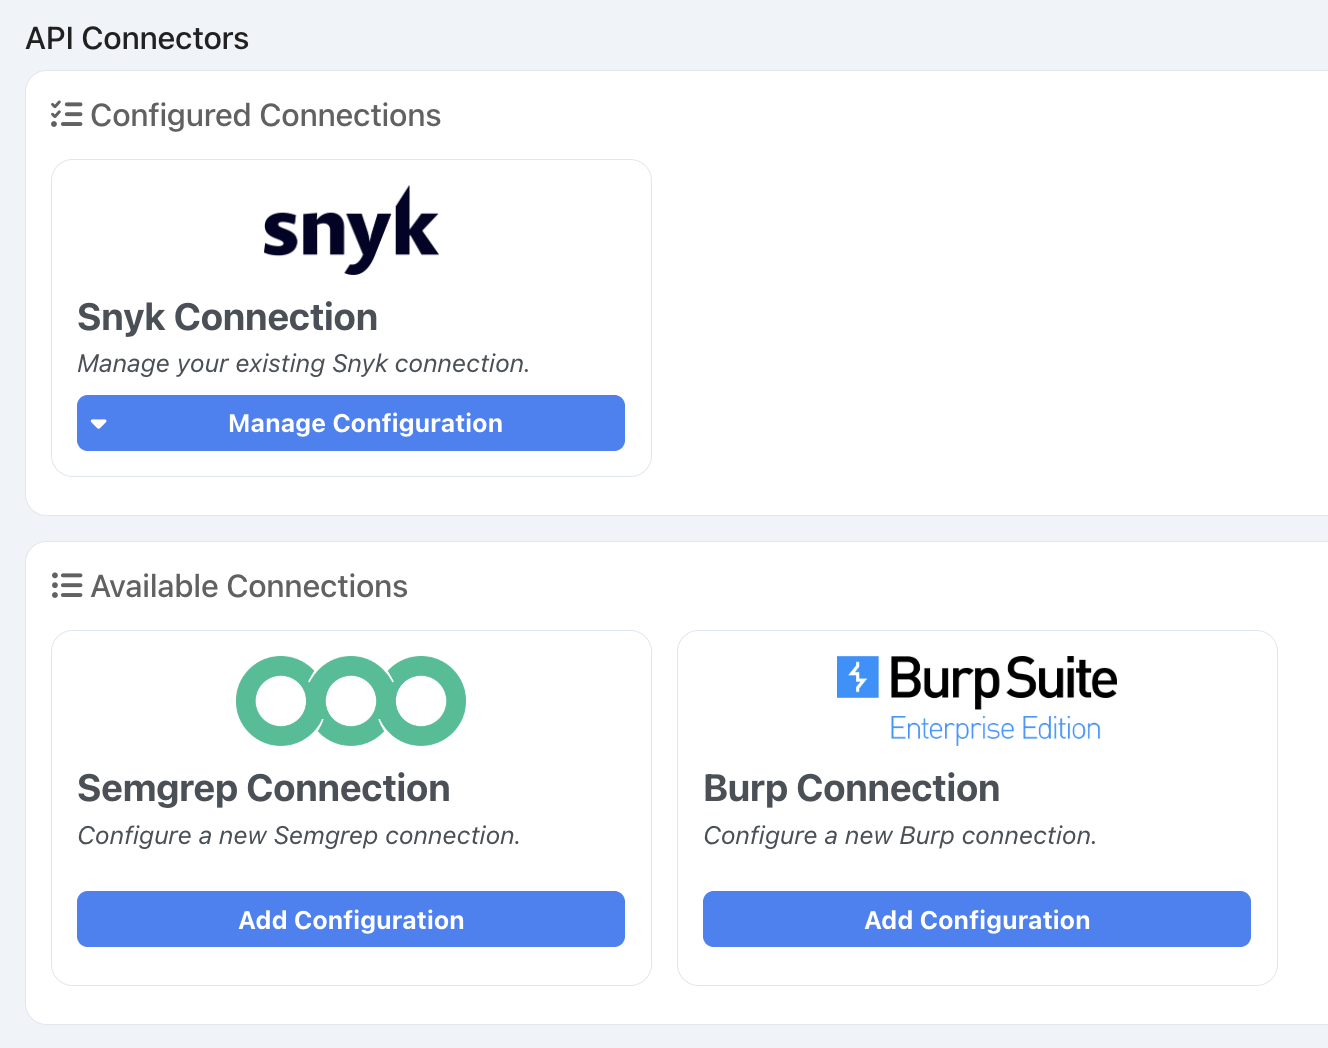
Choose a new Connector you want to add to DefectDojo in Available Connectors, and click the Add Configuration button on the tool’s tile. You can use the Search Connectors box to filter each section by tool name, or the All / Asset / Finding toggle in the page header to filter by connector type.
You can also edit an existing Connector under the Configured Connectors header. Click Manage Configuration > Edit Configuration for the Configured Connector you want to Edit.
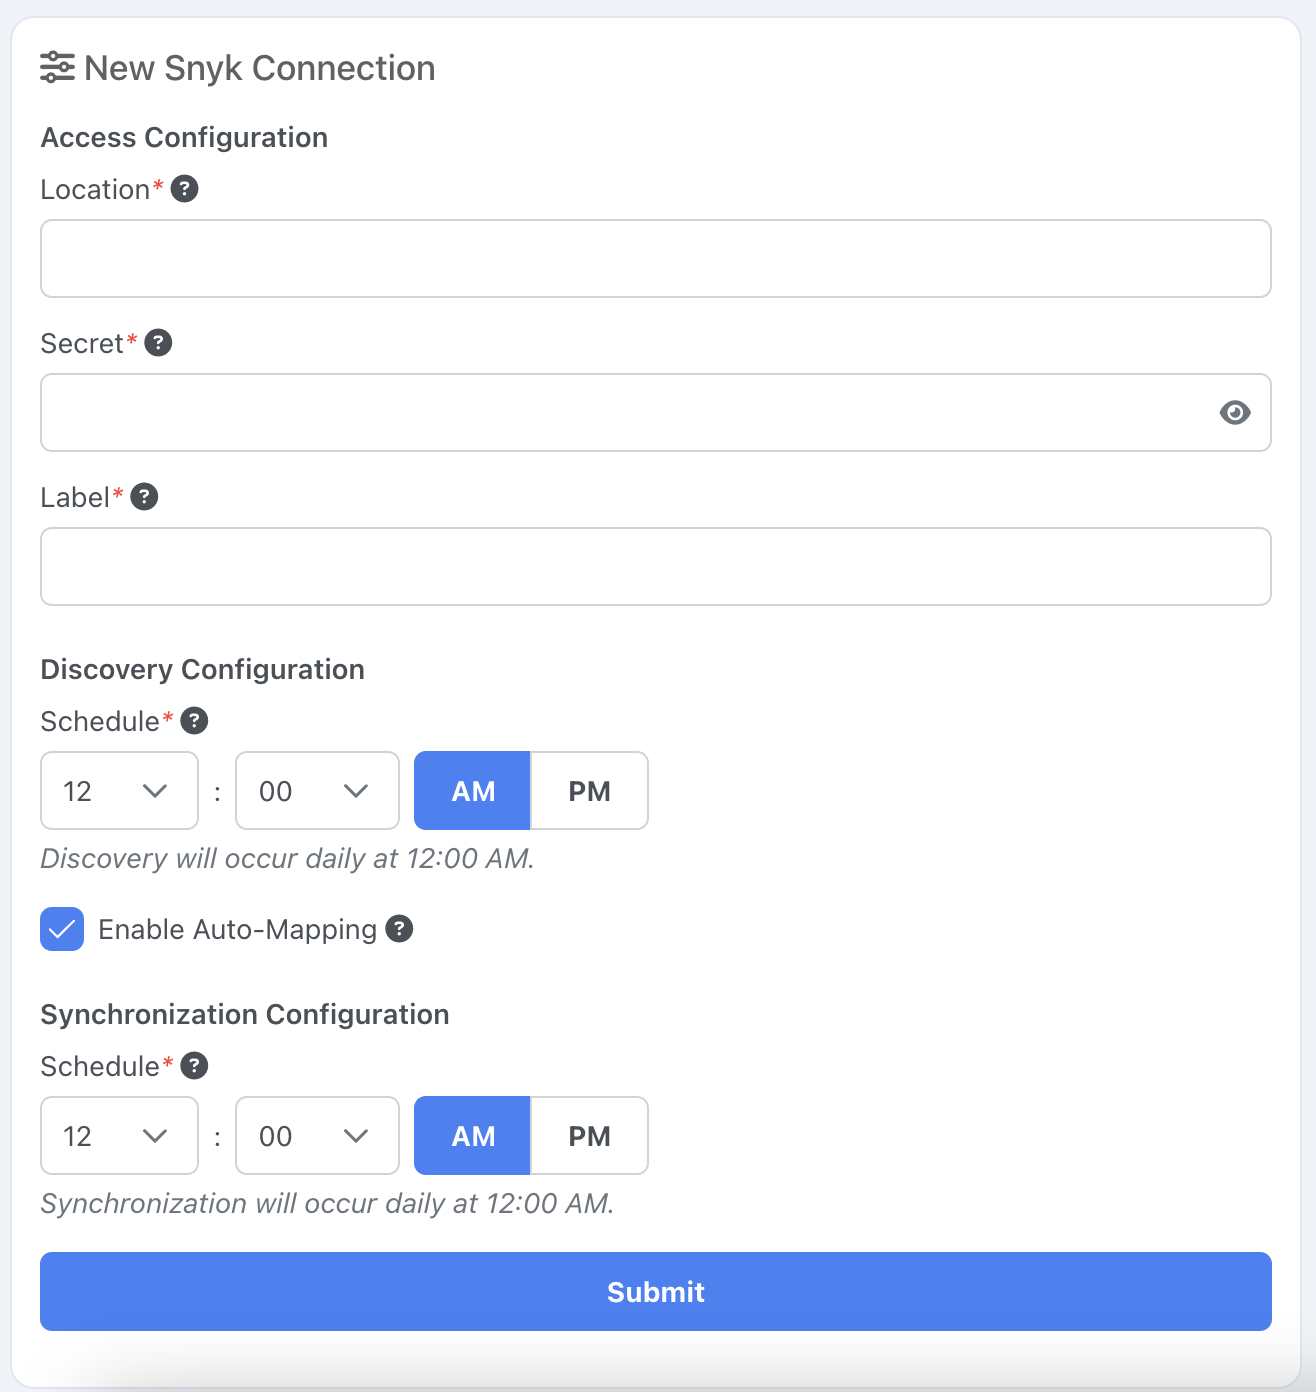
You will need an accessible Location URL for the tool, along with an API Secret key. The location of the API key will depend on the tool you are trying to configure. See our Tool-Specific Reference for more details.
Set a Label for this connection to help you identify it in DefectDojo.
Schedule the Connector’s automatic discovery and sync under the Discovery Configuration and Synchronization Configuration sections. For each, pick a Frequency (every 6, 12, or 24 hours) and a Time. At Every 24 hours the connector runs once a day at that time; at Every 6 hours or Every 12 hours the time sets when the first run of the day happens, and the connector repeats from there. Times are shown in your browser’s local timezone. You can change any of this later.
Select whether you wish to Enable Auto-Mapping. Enable Auto-Mapping will create a new Asset in DefectDojo to store the data from this connector. Auto-Mapping can be turned on or off at any time.
Click Submit.
Checking that the connector can see your data
When you submit, DefectDojo asks the tool what those credentials can actually see, and tells you the answer. If the account you connected has not been granted access to any projects, hosts, or repositories, or otherwise reports no data for your credentials, DefectDojo saves the connector and shows a No Data Visible warning. A new account that is actually empty is a valid setup, and the connector will start importing as soon as data appears. If data is present but fails to be recognized, check your tool’s account permissions.
Next Steps
- Now that you’ve added a connector, you can confirm everything is set up correctly by running a Discover operation.