

DefectDojo API v2
DefectDojo's API is created using Django Rest
Framework. The documentation of
each endpoint is available within each DefectDojo installation at
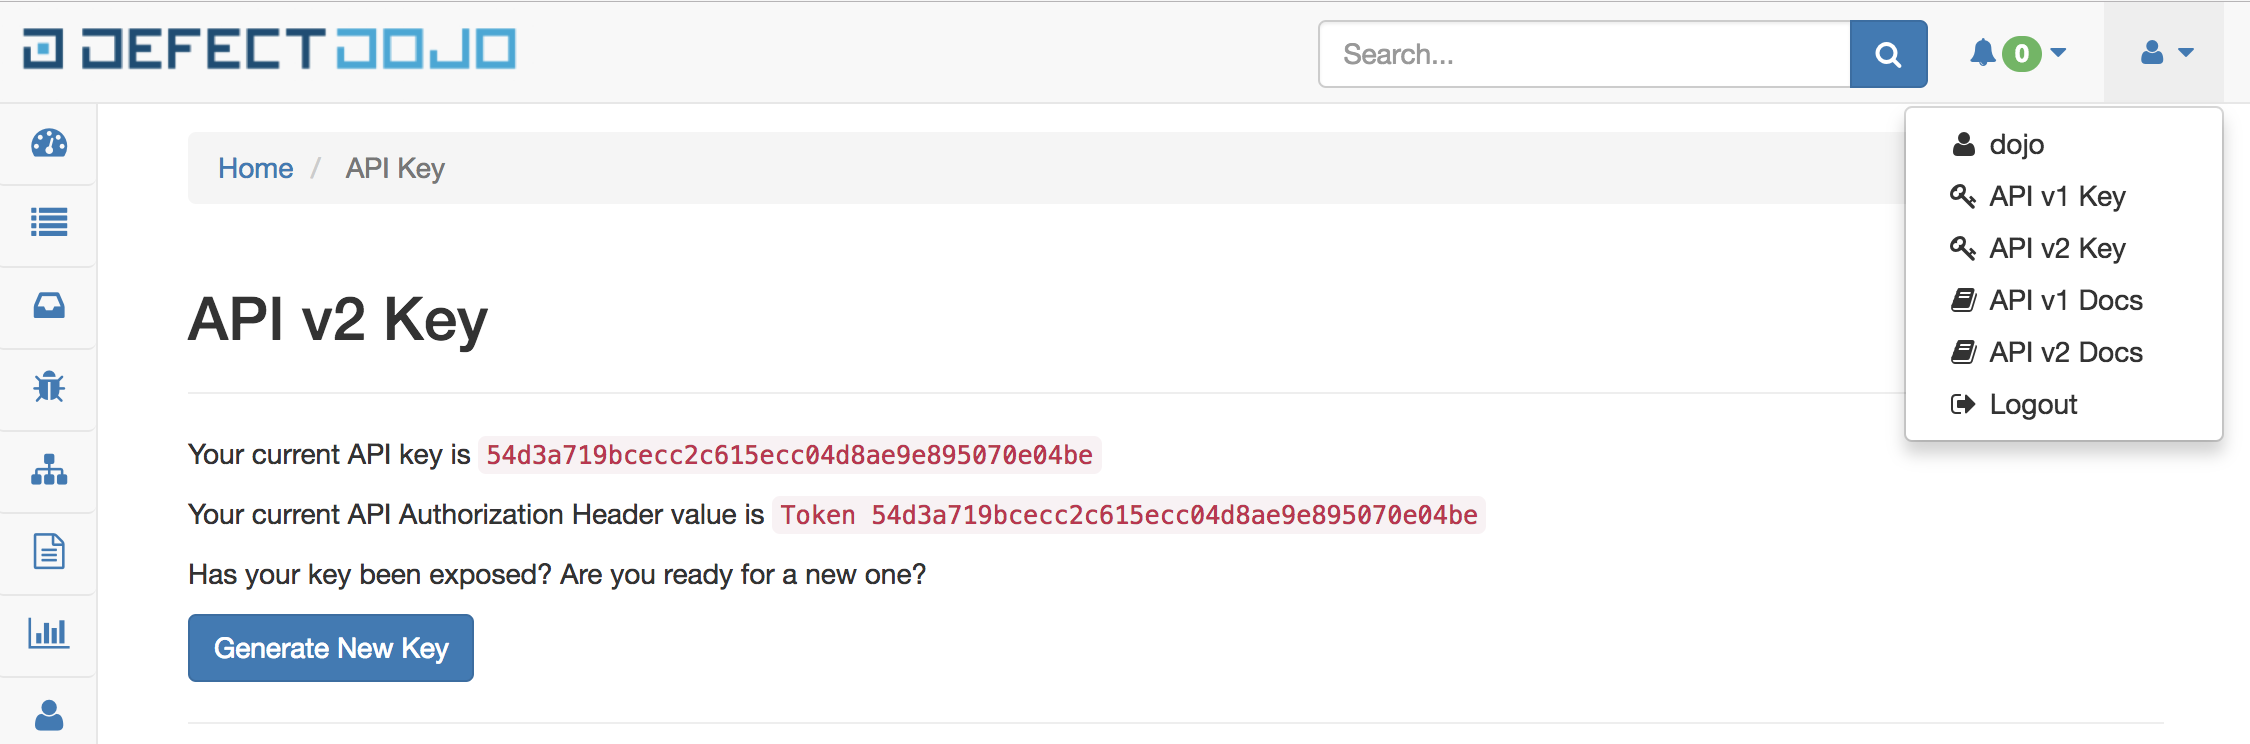
/api/v2/oa3/swagger-ui and can be accessed by choosing the API v2
Docs link on the user drop down menu in the header.
Naming: The UI labels these objects Assets and Organizations. The API v2 wire surface keeps the original names — an Asset is
productand an Organization isproduct_type. Endpoint paths, field names and event names are unchanged.
The documentation is generated using drf-spectacular at /api/v2/oa3/swagger-ui/, and is
interactive. On the top of API v2 docs is a link that generates an OpenAPI v3 spec.
To interact with the documentation, a valid Authorization header value
is needed. Visit the /api/key-v2 view to generate your
API Key (Token <api_key>) and copy the header value provided.
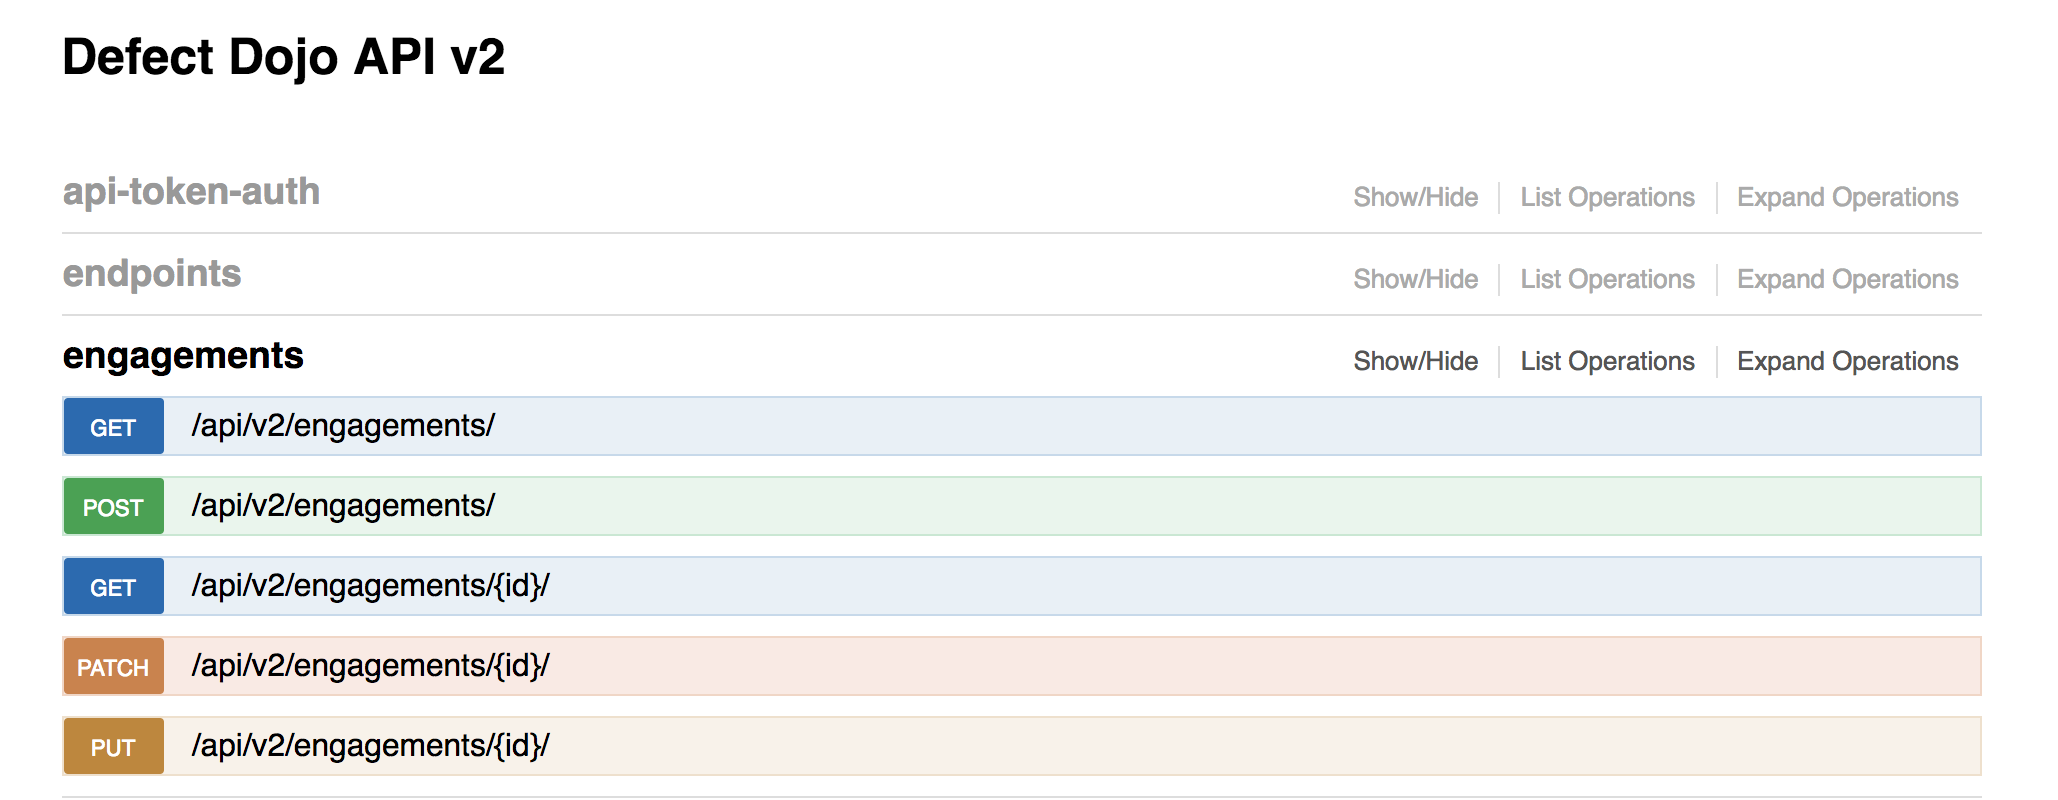
Each section allows you to make calls to the API and view the Request URL, Response Body, Response Code and Response Headers.
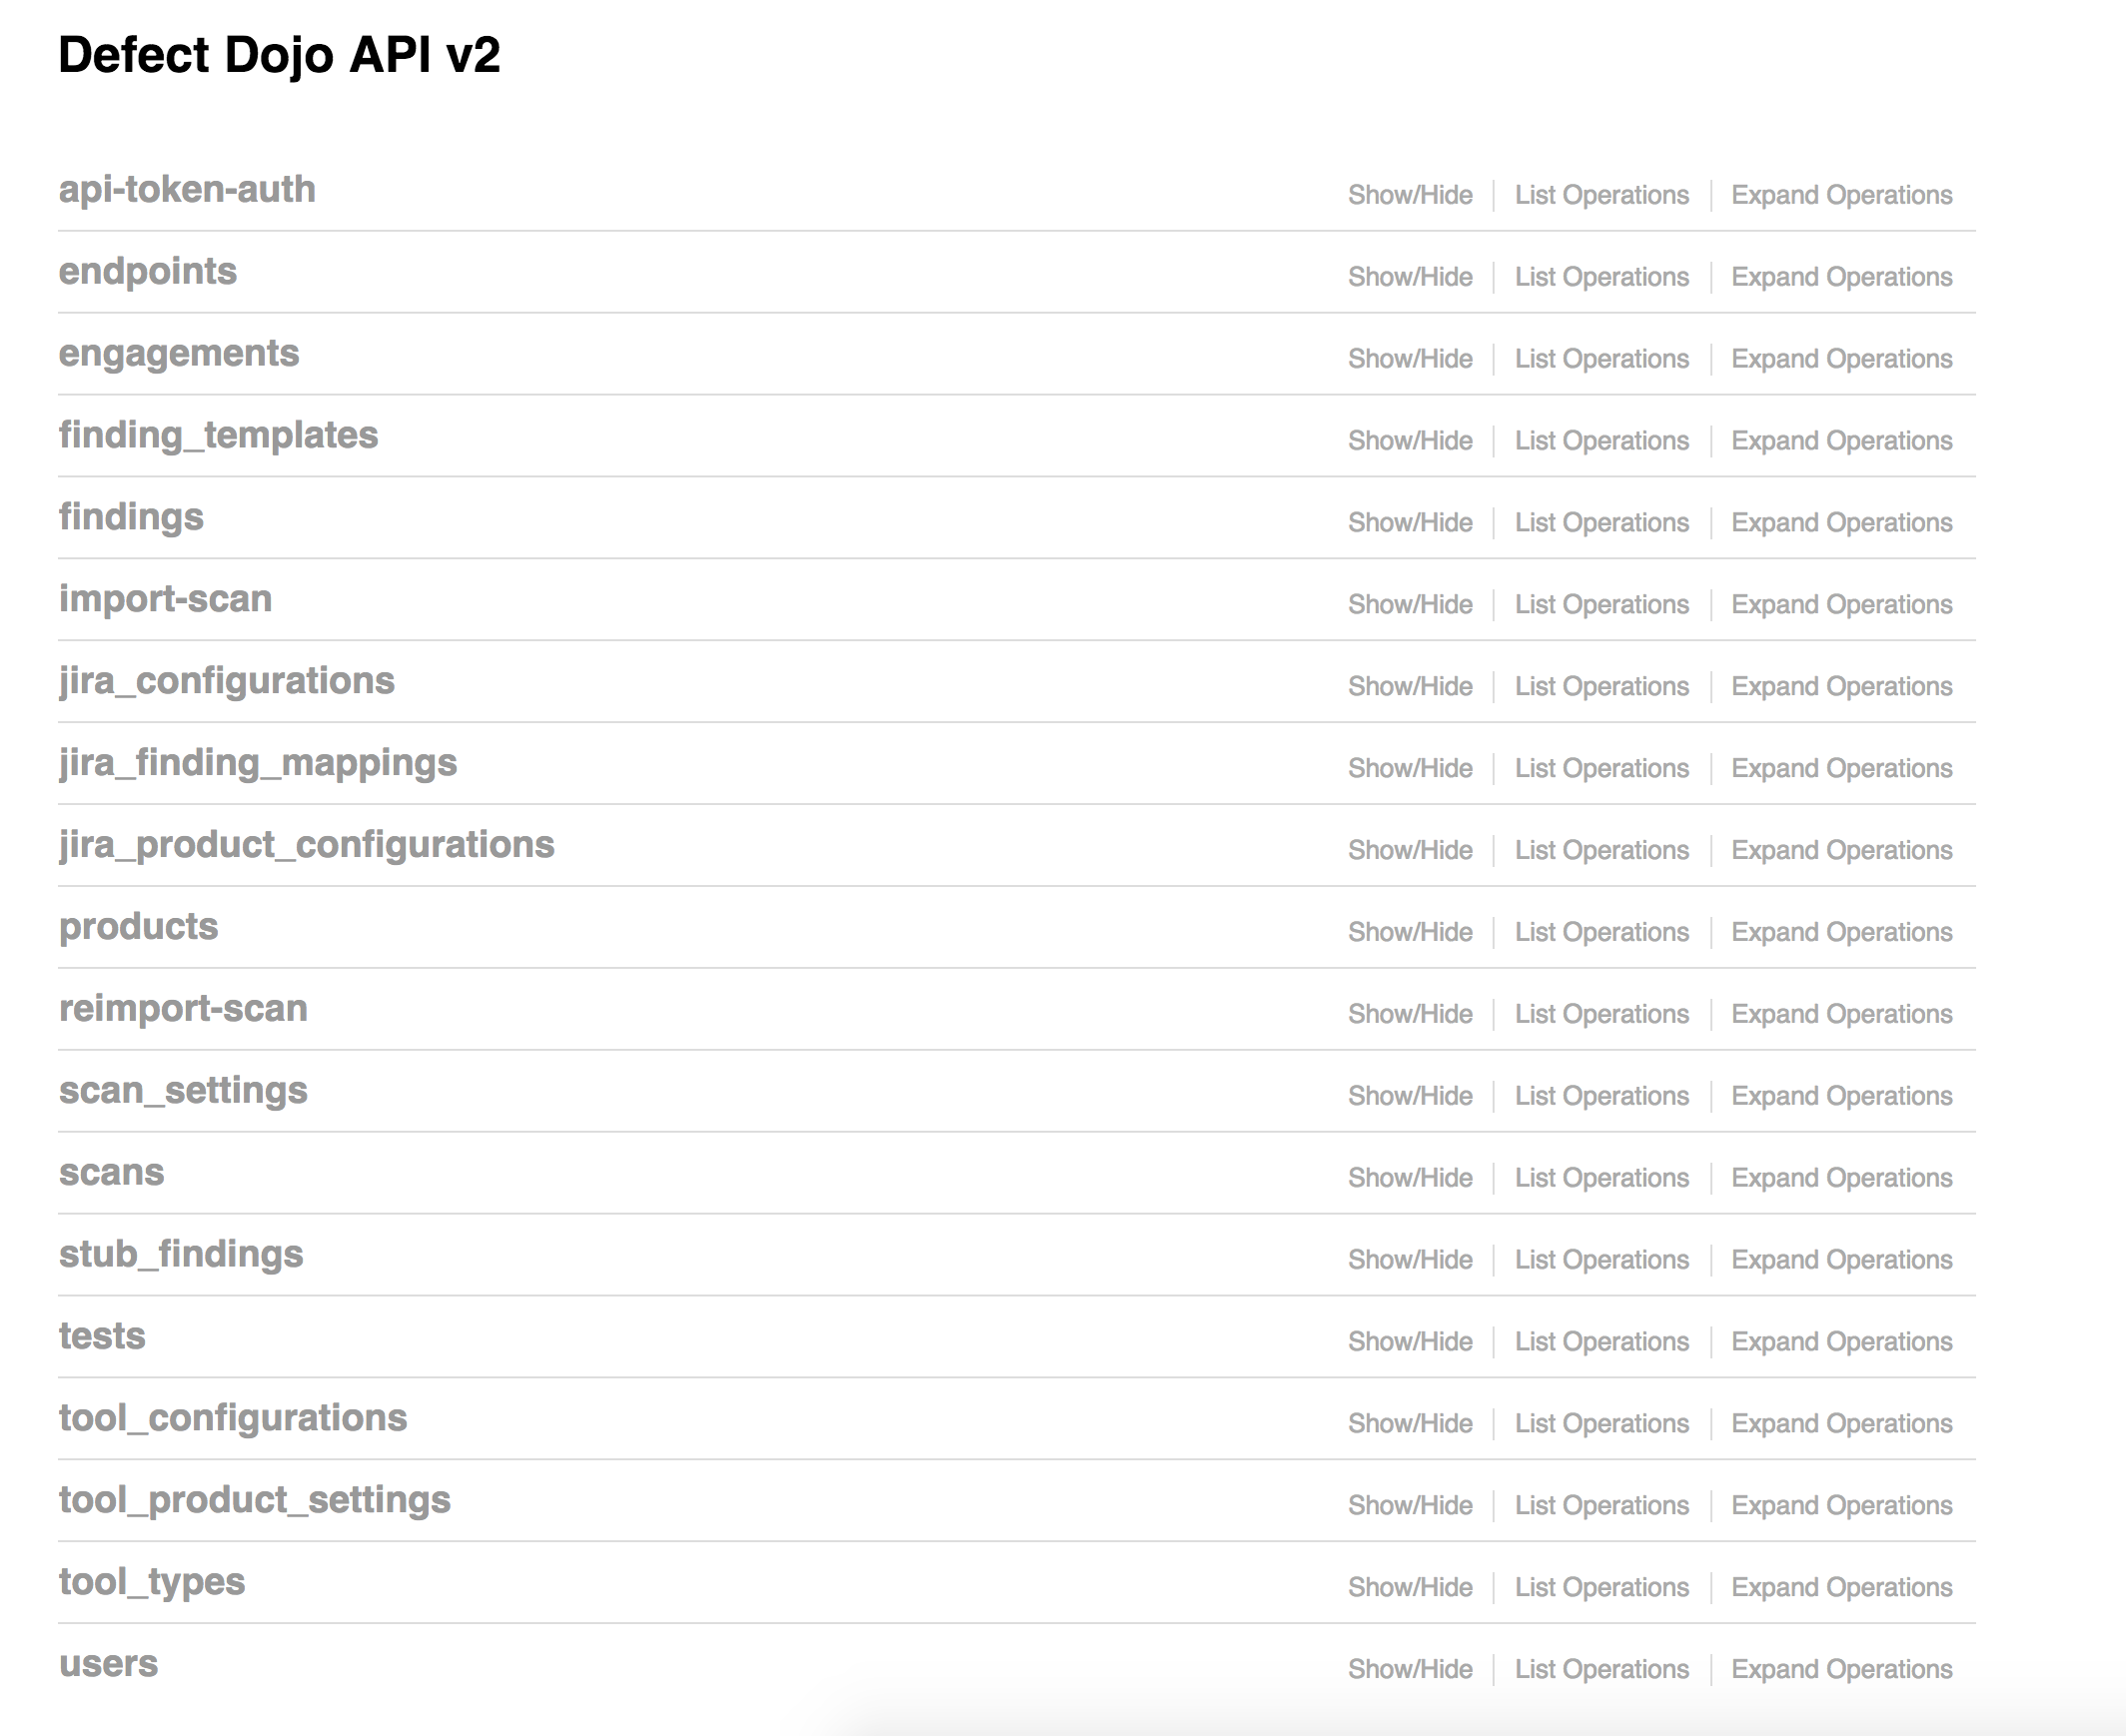
If you’re logged in to the Defect Dojo web UI, you do not need to provide the authorization token.
Authentication
The API uses header authentication with API key. The format of the header should be:
Authorization: Token <api.key>
For example:
Authorization: Token c8572a5adf107a693aa6c72584da31f4d1f1dcff
Alternative authentication method
If you use an alternative authentication method for users, you may want to disable DefectDojo API tokens because it could bypass your authentication concept.
Using of DefectDojo API tokens can be disabled by specifying the environment variable DD_API_TOKENS_ENABLED to False.
Or only api/v2/api-token-auth/ endpoint can be disabled by setting DD_API_TOKEN_AUTH_ENDPOINT_ENABLED to False.
Token management
DefectDojo provides API endpoints to revoke and set expiry on API tokens programmatically.
Revoking a token by key
When a token value is compromised, a superuser or Global Owner can revoke it directly by its key, without needing to know which user it belongs to:
POST /api/v2/api-tokens/revoke/
Authorization: Token <api_key>
Content-Type: application/json

{"key": "<token_to_revoke>"}
Returns 204 on success. The token is deleted, any per-user expiry override is cleared, and the owner is notified that their token was revoked. The owner will need to generate a new token via the UI (/api/key-v2) or via POST /api/v2/users/{id}/reset_api_token/ before they can authenticate again.
Returns 404 if no token matches the supplied key, 400 if key is missing, and 403 for non-superusers.
Token expiry
An optional expiry datetime can be set per user via the user_contact_infos endpoint (superuser only):
PATCH /api/v2/user_contact_infos/{id}/
Authorization: Token <api_key>
Content-Type: application/json

{"token_expiry": "2026-12-31T23:59:59Z"}
Once set, any request using that user’s token after the expiry datetime will receive a 403 Forbidden response with {"detail": "API token has expired."}. The user must generate a new token to regain access.
To clear a per-user expiry, set token_expiry to null. The token then falls back to the instance-wide default described below, so this makes a token permanent only when that default is 0.
Setting this field is restricted to superusers. It is not editable from the user profile page, and an expired token is rejected rather than deleted, so raising the expiry restores access without forcing a rotation.
Default token lifetime
To enforce a maximum token lifetime across all users, set the environment variable:
DD_API_TOKEN_DEFAULT_EXPIRY_DAYS=90When set to a value greater than 0, every token expires that many days after it was created. This is measured from the token’s own creation time and is evaluated when the token is used, so it applies to every token on the instance, including ones that already exist and ones obtained through POST /api/v2/api-token-auth/ or the UI key page. The default is 0, meaning tokens do not expire unless a per-user expiry is set.
A per-user token_expiry takes precedence over this default, in either direction: it can pin a shorter life for one user, or grant a longer one.
Resetting or revoking a token clears the per-user override, because that value described the token being replaced. The instance default still applies to the new token, measured from its creation.
Switching this setting on is retroactive. Because expiry is evaluated when a token is used rather than recorded when it is issued, raising the value above 0 immediately invalidates every token on the instance that is already older than the window. That includes your own API token and any token driving a CI/CD pipeline.
Plan the change before making it: pick a window, ask token owners to rotate first, then enable the setting. If you do lock yourself out of the API, the UI is unaffected because it uses session authentication, and you can issue a new token from /api/key-v2.
Sample Code
Here are some simple python examples and their results produced against
the /users endpoint:
import requests

url = 'http://127.0.0.1:8000/api/v2/users'
headers = {'content-type': 'application/json',
            'Authorization': 'Token c8572a5adf107a693aa6c72584da31f4d1f1dcff'}
r = requests.get(url, headers=headers, verify=True) # set verify to False if ssl cert is self-signed

for key, value in r.__dict__.items():
  print(f"'{key}': '{value}'")
  print('------------------')
This code will return the list of all the users defined in DefectDojo. The json object result looks like:
    [
        {
          "first_name": "Tyagi",
          "id": 22,
          "last_login": "2019-06-18T08:05:51.925743",
          "last_name": "Paz",
          "username": "dev7958"
        },
        {
          "first_name": "saurabh",
          "id": 31,
          "last_login": "2019-06-06T11:44:32.533035",
          "last_name": "",
          "username": "saurabh.paz"
        }
    ]
Here is another example against the /users endpoint, this
time we will filter the results to include only the users whose user
name includes jay:
import requests

url = 'http://127.0.0.1:8000/api/v2/users/?username__contains=jay'
headers = {'content-type': 'application/json',
            'Authorization': 'Token c8572a5adf107a693aa6c72584da31f4d1f1dcff'}
r = requests.get(url, headers=headers, verify=True) # set verify to False if ssl cert is self-signed

for key, value in r.__dict__.items():
  print(f"'{key}': '{value}'")
  print('------------------')
The json object result is:
[
    {
        "first_name": "Jay",
        "id": 22,
        "last_login": "2015-10-28T08:05:51.925743",
        "last_name": "Paz",
        "username": "jay7958"
    },
    {
        "first_name": "",
        "id": 31,
        "last_login": "2015-10-13T11:44:32.533035",
        "last_name": "",
        "username": "jay.paz"
    }
]
See Django Rest Framework's documentation on interacting with an API for additional examples and tips.
Manually calling the API
Tools like Postman can be used for testing the API.
Example for importing a scan result:
Verb: POST
Headers tab:
- add the authentication header
- Key: Authorization
- Value: Token c8572a5adf107a693aa6c72584da31f4d1f1dcff
Body tab
- select "form-data", click "bulk edit". Example for a ZAP scan:
engagement:3
verified:true
active:true
lead:1
tags:test
scan_type:ZAP Scan
minimum_severity:Info
close_old_findings:false
Body tab
- Click "Key-value" edit
- Add a "file" parameter of type "file". This will trigger multi-part form data for sending the file content
- Browse for the file to upload
Click send
Clients / API Wrappers
| Wrapper | Status | Notes |
|---|---|---|
| Specific python wrapper | working (2021-01-21) | API Wrapper including scripts for continous CI/CD uploading. Is lagging behind a bit on latest API features as we plan to revamp the API wrapper |
| Openapi python wrapper | Proof of concept only where we found out the the OpenAPI spec is not perfect yet | |
| Java library | working (2021-08-30) | Created by the kind people of SecureCodeBox |
| Image using the Java library | working (2021-08-30) | |
| .Net/C# library | working (2021-06-08) | |
| dd-import | working (2021-08-24) | dd-import is not directly an API wrapper. It offers some convenience functions to make it easier to import findings and language data from CI/CD pipelines. |
Some of the api wrappers contain quite a bit of logic to ease scanning and importing in CI/CD environments. We are in the process of simplifying this by making the DefectDojo API smarter (so api wrappers / script can be dumber).
API Notes
Import / Reimport
Reimport is actually the easiest way to get started as it will create any entities on the fly if needed and it will automatically detect if it is a first time upload or a re-upload.
Import
Importing via the API is performed via the import-scan endpoint.
As described in the Asset Hierarchy, Test gets created inside an Engagement, inside an Asset, inside an Organization.
An import can be performed by specifying the names of these entities in the API request:
{
    "minimum_severity": 'Info',
    "active": True,
    "verified": True,
    "scan_type": 'ZAP Scan',
    "test_title": 'Manual ZAP Scan by John',
    "product_type_name": 'Good Products',
    "product_name": 'My little product',
    "engagement_name": 'Important import',
    "auto_create_context": True,
}
When auto_create_context is True, the Asset, engagement, and environment will be created if needed. Make sure your user has sufficient permissions to do this.
A classic way of importing a scan is by specifying the ID of the engagement instead:
{
    "minimum_severity": 'Info',
    "active": True,
    "verified": True,
    "scan_type": 'ZAP Scan',
    "test_title": 'Manual ZAP Scan by John',
    "engagement": 123,
}
Reimport
ReImporting via the API is performed via the reimport-scan endpoint.
A reimport can be performed by specifying the names of these entities in the API request:
{
    "minimum_severity": 'Info',
    "active": True,
    "verified": True,
    "scan_type": 'ZAP Scan',
    "test_title": 'Manual ZAP Scan by John',
    "product_type_name": 'Good Products',
    "product_name": 'My little product',
    "engagement_name": 'Important import',
    "auto_create_context": True,
    "do_not_reactivate": False,
}
When auto_create_context is True, the Organization, Asset and Engagement will be created if they do not already exist. Make sure your user has sufficient permissions to create an Asset/Organization.
When do_not_reactivate is True, the importing/reimporting will ignore uploaded active findings and not reactivate previously closed findings, while still creating new findings if there are new ones. You will get a note on the finding to explain that it was not reactivated for that reason.
A reimport will automatically select the latest test inside the provided engagement that satisfies the provided scan_type and (optionally) provided test_title.
If no existing Test is found, the reimport endpoint will use the import function to import the provided report into a new Test. This means a (CI/CD) script using the API doesn’t need to know if a Test already exists, or if it is a first time upload for this Asset / Engagement.
A classic way of reimporting a scan is by specifying the ID of the test instead:
{
    "minimum_severity": 'Info',
    "active": True,
    "verified": True,
    "scan_type": 'ZAP Scan',
    "test": 123,
}
Generating Reports
DefectDojo can generate a findings report through the API in JSON, HTML, CSV, or Excel format.
A report is generated with a POST request to a generate_report/ action. The findings endpoint reports across your instance, and most other objects expose a per-object action:
| Endpoint | Scope |
|---|---|
POST /api/v2/findings/generate_report/ | Every finding you have permission to view |
POST /api/v2/products/{id}/generate_report/ | One Asset |
POST /api/v2/engagements/{id}/generate_report/ | One engagement |
POST /api/v2/tests/{id}/generate_report/ | One test |
POST /api/v2/product_types/{id}/generate_report/ | One Organization |
POST /api/v2/endpoints/{id}/generate_report/ | One endpoint |
The Pro object aliases expose the same action: /api/v2/assets/{id}/generate_report/, /api/v2/organizations/{id}/generate_report/, and /api/v2/location/{id}/generate_report/.
Request options
All fields are optional — posting an empty body ({}) returns a JSON report.
| Field | Type | Default | Description |
|---|---|---|---|
report_type | string | JSON | One of JSON, HTML, CSV, Excel. |
include_finding_notes | boolean | false | Include each finding’s notes. |
include_finding_images | boolean | false | Include images attached to findings. |
include_executive_summary | boolean | false | Include an executive summary section. |
include_table_of_contents | boolean | false | Include a table of contents. |
An unsupported report_type (for example PDF) returns 400 Bad Request with an error on the report_type field.
Example
Generate a CSV report of all findings you can view, and save it to a file:
curl -X POST \
  -H "Authorization: Token <your-api-token>" \
  -H "Content-Type: application/json" \
  -d '{"report_type": "CSV"}' \
  https://<your-instance>/api/v2/findings/generate_report/ \
  -o findings.csv
Response formats
report_type | Content type | Response |
|---|---|---|
JSON (default) | application/json | Report body in the response |
HTML | text/html | Rendered report page |
CSV | text/csv | File attachment |
Excel | application/vnd.openxmlformats-officedocument.spreadsheetml.sheet | .xlsx file attachment |
CSV and Excel are returned as file attachments with a Content-Disposition header rather than as a JSON body. The filename is derived from the object the report was generated from — for example product_1_findings.csv or test_42_findings.xlsx. The /findings/generate_report/ endpoint is not scoped to a single object, so its downloads are named findings.csv and findings.xlsx.
Notes and limitations
- The
include_*options affect the JSON and HTML reports only. The CSV and Excel exports always contain the finding rows. - Report generation requires view permission on the objects involved, and a report only ever contains findings you are authorized to see.
- Standard query-parameter filters are not applied to this action. Unlike
GET /api/v2/findings/, thegenerate_report/action does not apply the finding filters, so a request such asPOST /api/v2/findings/generate_report/?severity=Highstill reports on every finding you can view. To narrow a report, generate it from a specific Asset, engagement, or test instead.
Asynchronous Deletion Behavior
Deletions in DefectDojo (via both the API and UI) are processed asynchronously by Celery background workers. When you delete an Engagement, Test, or other object, the API or UI returns a success response immediately, but the actual deletion runs in the background.
This means:
- Objects may still appear in queries for a period of time after deletion is confirmed.
- Cascade deletions (e.g., deleting an Engagement also deletes its Tests and Findings) are processed as a chain of background tasks. Child objects are removed in dependency order: Findings, then Tests, then Engagements.
- For large Engagements with many Findings, this process can take several minutes to complete.
There is no need to build custom scripts to delete objects in dependency order. A single DELETE request on an Engagement will cascade to all child objects automatically. Simply allow time for the background tasks to complete.
API Pagination Limits
DefectDojo Pro enforces a maximum page size of 250 results per API request. Setting limit higher than 250 may result in HTTP 502 errors due to query timeouts.
Open Source DefectDojo instances may also experience timeouts with very large page sizes depending on dataset size and server resources.
For large result sets, use pagination with a page size of 50-250 and add short delays between paginated requests to avoid saturating the worker pool.
Large-Scale Import Best Practices
When importing scan results at scale (e.g., SBOM pipelines with thousands of components), consider the following:
- Use
background_import=truefor large payloads. Synchronous imports tie up a uwsgi worker for the duration of the import, which can degrade performance for all users. - Target payload sizes under 1 MB per import where possible. Split large SBOMs into smaller files per Asset or component group.
- Add delays between consecutive API calls to avoid worker pool exhaustion, which causes HTTP 502 errors.
- Use Reimport (
/api/v2/reimport-scan/) for recurring scans to update existing findings rather than creating duplicates.
Background import responses (API: background_import)
A background import returns as soon as the uploaded report has been parsed, before any
findings have been written. Its response therefore describes scheduled work, and it is
shaped differently from a synchronous one. This applies to /api/v2/import-scan/ and
/api/v2/reimport-scan/ whenever background_import is true, or whenever the
api_async_import system setting turns it on for every import.
A background response contains:
background_import—true. This is the field to branch on.status— the lifecycle status of the test at the moment the response was produced:Processing,Post Processing - Deduplication,Post Processing - False Positive History,ProcessedorFailed.findings_parsed— how many findings were read out of the report. This is a parse count, not a created count: deduplication and the import options you supplied decide how many findings are actually written.test_id(andengagement_id,product_id,product_type_id) — the identifiers to poll.message— the same information asstatusandfindings_parsed, in prose. Prefer the structured fields.
It does not contain statistics, and it does not contain deduplication_complete.
Those keys are absent rather than zero, because at that point no findings have been
created and reporting zeros would misdescribe the import. A client that reads
response["statistics"] unconditionally will fail on a background import — read
background_import first, or use statistics only on the synchronous path.
To follow a background import to completion, poll the test:
POST /api/v2/import-scan/        (background_import=true)  -> test_id, status, findings_parsed
GET  /api/v2/tests/{test_id}/                              -> status, processing
Repeat the GET until status is Processed (the import finished, and the test’s
finding counts are now meaningful) or Failed (the import did not complete). While the
import is running, processing is true and status reports which phase it is in. Use
a few seconds between polls; a large report can spend minutes in post-processing.
A synchronous import (background_import omitted or false) is unchanged: it returns
once the findings have been written, includes statistics, and does not include status
or findings_parsed.
Using the Scan Completion Date (API: scan_date) field
DefectDojo offers a plethora of supported scanner reports, but not all of them contain the
information most important to a user. The scan_date field is a flexible smart feature that
allows users to set the completion date of the a given scan report, and have it propagate
down to all the findings imported. This field is not mandatory, but the default value for
this field is the date of import (whenever the request is processed and a successful response is returned).
Here are the following use cases for using this field:
- The report does not set the date, and
scan_dateis not set at import- Finding date will be the default value of
scan_date
- Finding date will be the default value of
- The report sets the date, and the
scan_dateis not set at import- Finding date will be whatever the report sets
- The report does not set the date, and the
scan_dateis set at import- Finding date will be whatever the user set for
scan_date
- Finding date will be whatever the user set for
- The report sets the date, and the
scan_dateis set at import- Finding date will be whatever the user set for
scan_date
- Finding date will be whatever the user set for